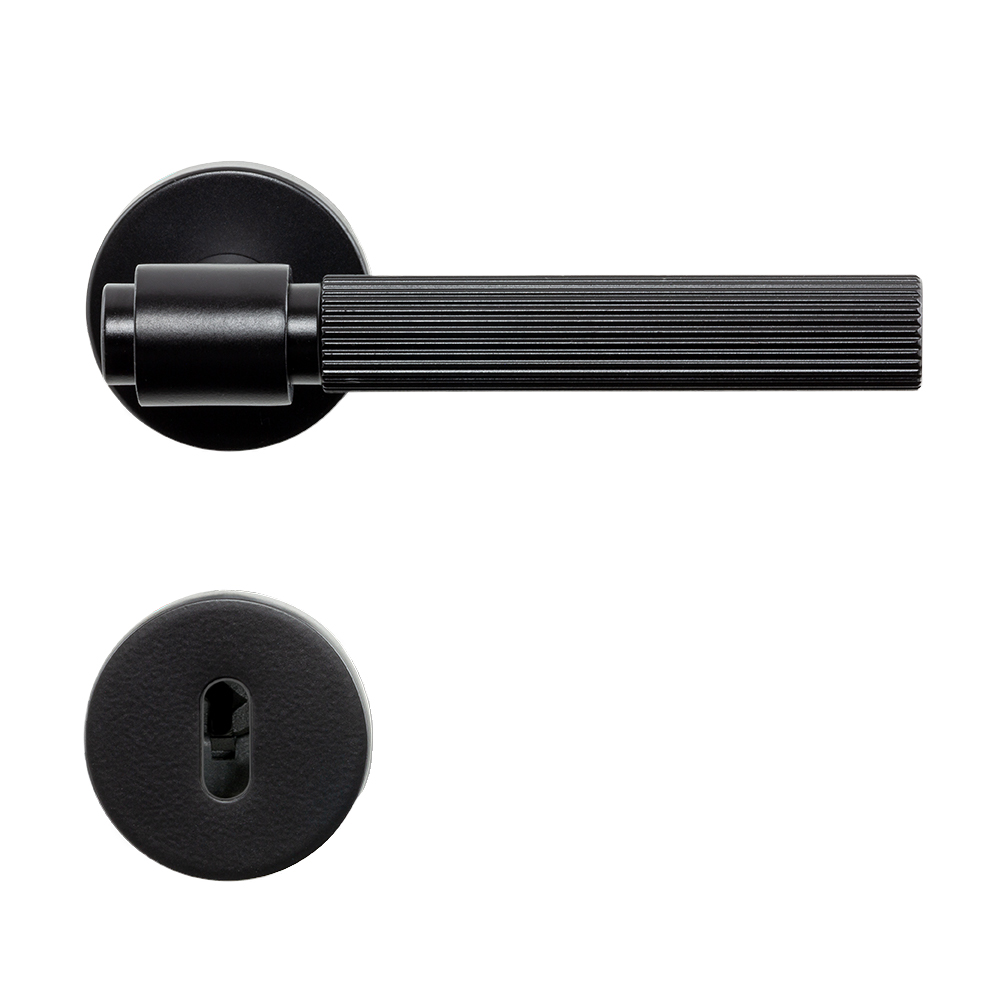
 Retro
Retro  Country
 Modern
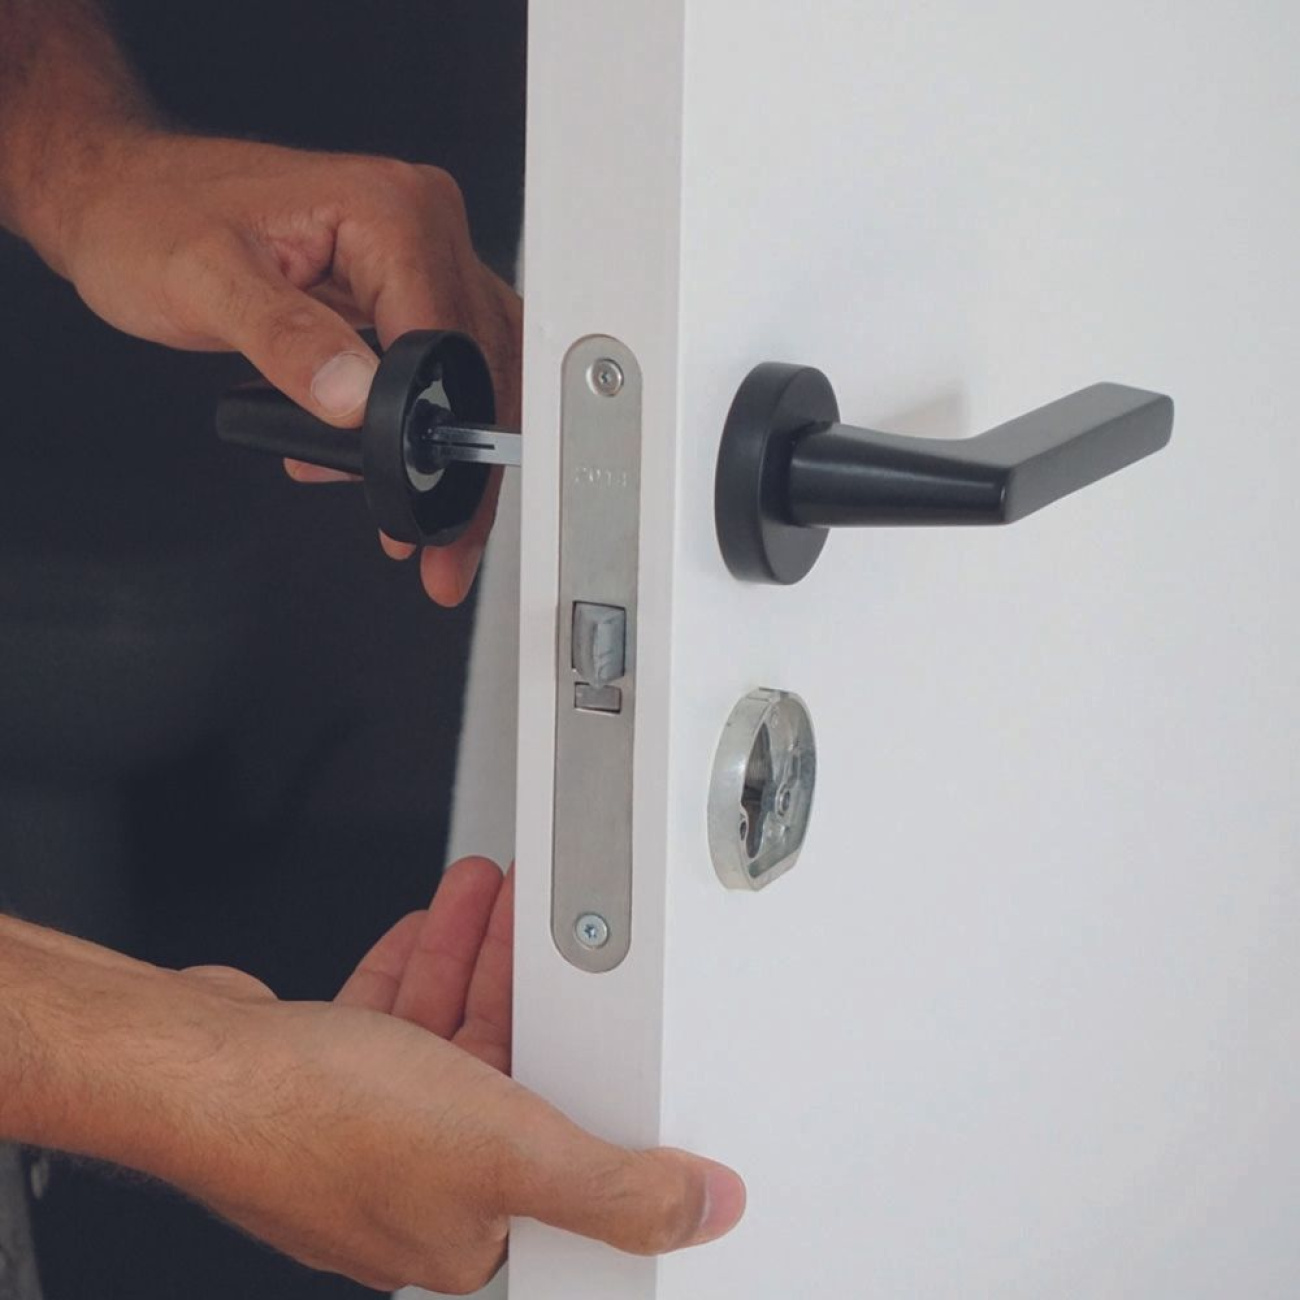
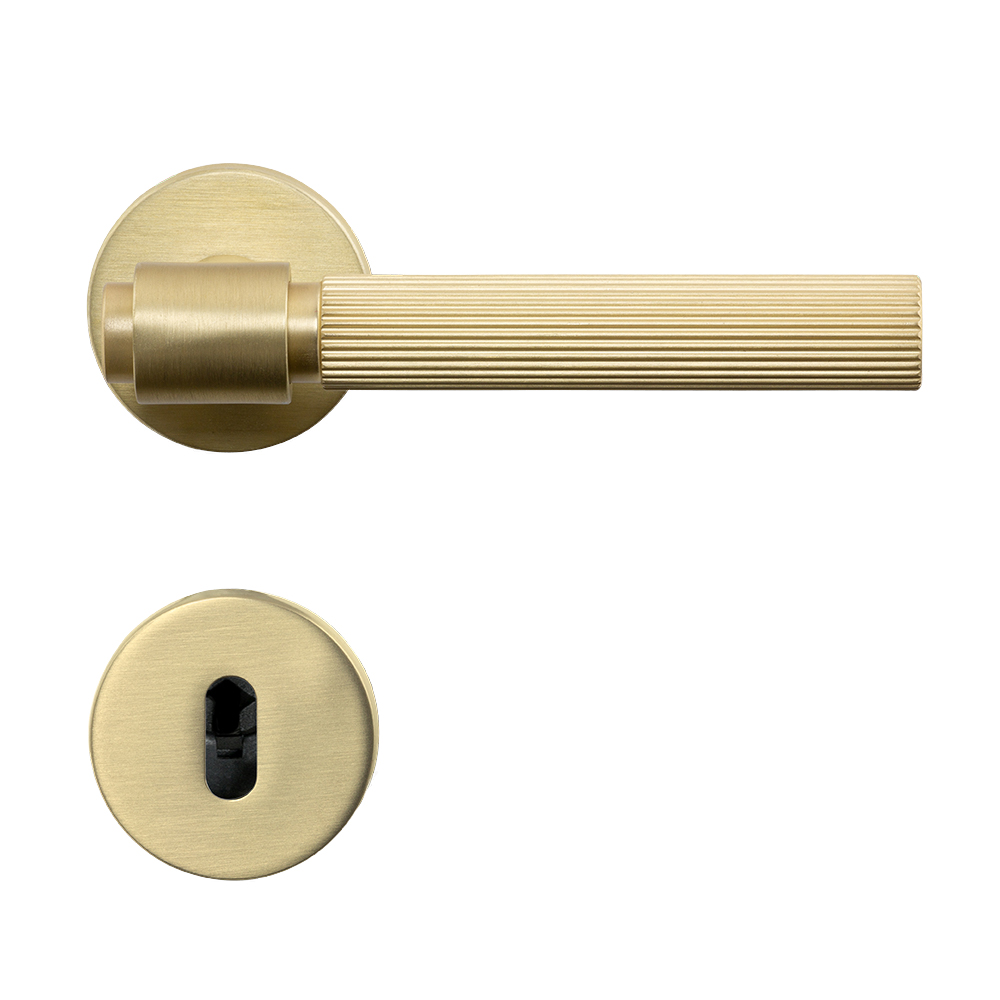
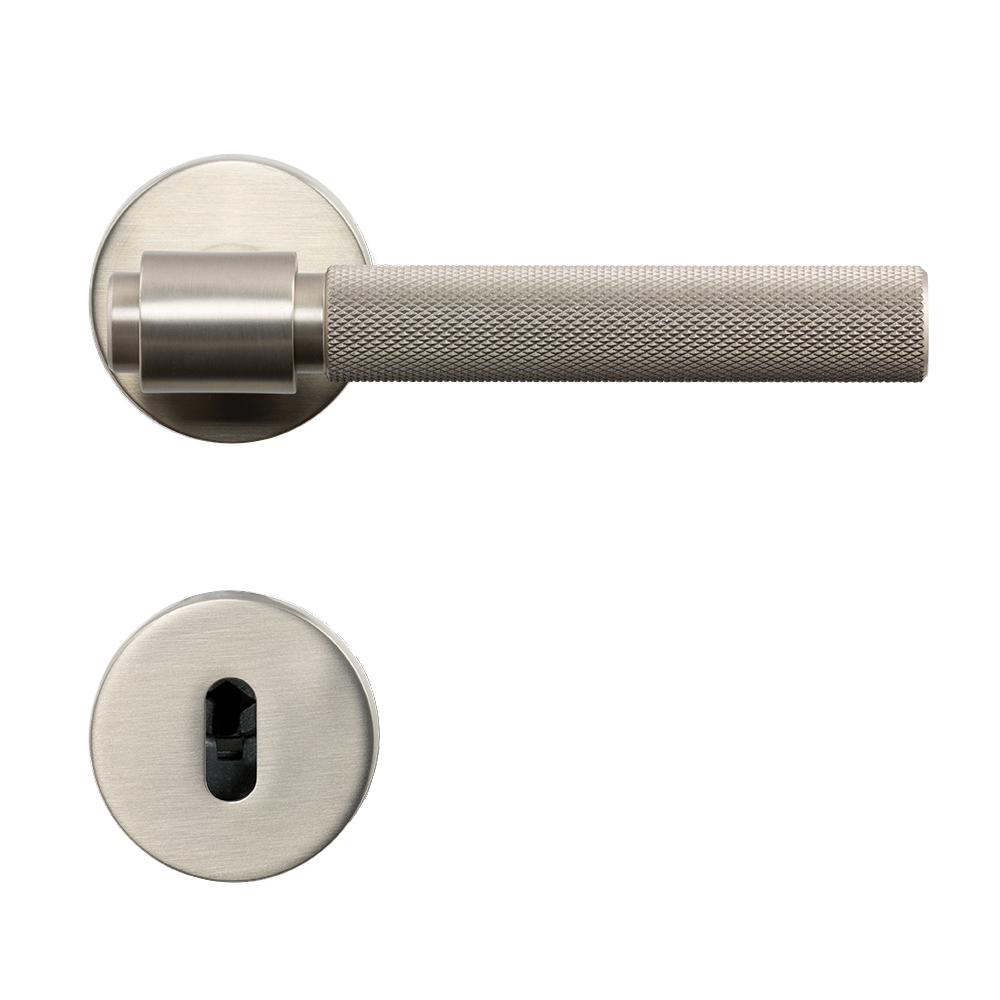
This guide applies only to our door handles with mounting plates, such as Helix 200, Helix 200 Stripe, Helix 200 Plain, Pipe, Nord, Tavira and Sintra.
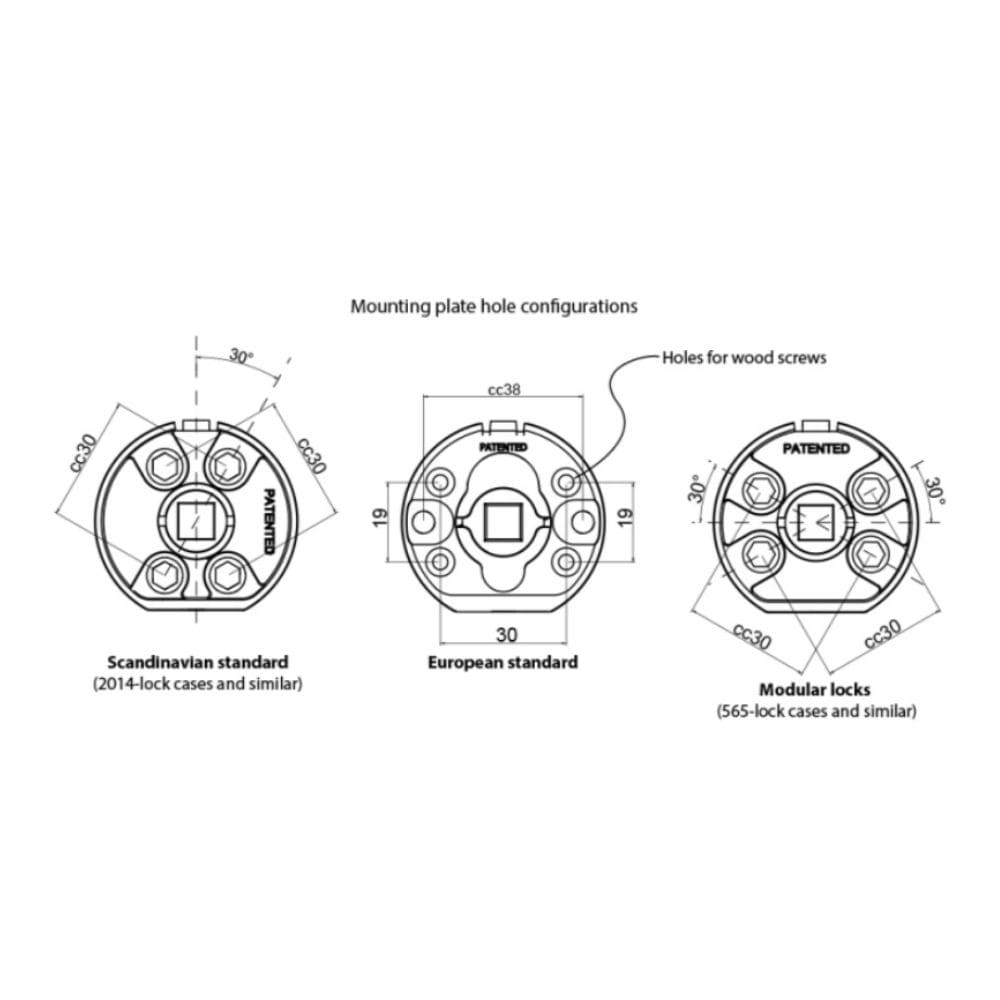
1. Does your door handle have Scandinavian or European standard?
Before placing your order, it's a good idea to check whether your doors have Scandinavian or European standard. So, how can you tell? And what is the difference between the two? Start by looking at your existing mounting plates. If you haven't previously had door handles with mounting plates, or if you have a brand-new door, check the position of the screw holes in the mortice lock.
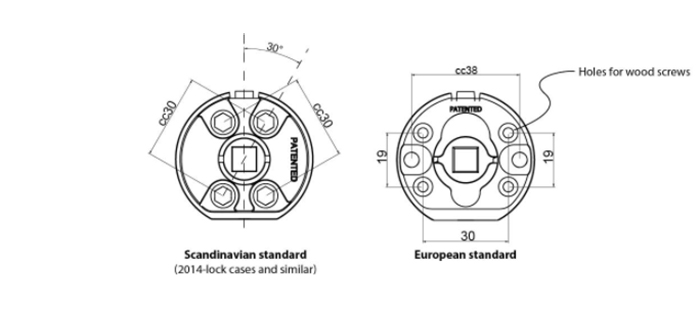
A door with Scandinavian standard is compatible with model 2014 mortice locks and other mortice locks with the same hole configuration. The model number is usually marked on the faceplate of the mortice lock (the part visible on the edge of the door leaf). The mounting plate for Scandinavian standard has four screw holes of the same size, arranged in a narrow vertical cross pattern. The centre-to-centre measurement of the diagonally positioned screw holes is 30 mm. The centre-to-centre measurement is the distance between the centres of the screw holes and is always stated in millimetres.
If your door has European standard, the screw holes are positioned parallel to the square opening in the centre of the mounting plate or mortice lock. The centre-to-centre measurement is 38 mm, meaning the distance between the centres of the screw holes. Centre-to-centre measurements are always stated in millimetres. Our mounting plates also feature four additional, slightly smaller holes to allow installation on timber doors.
- In short, the position of the screw holes is what distinguishes European and Scandinavian standards from each other. -
Therefore, don't forget to check the position of the screw holes on your door to ensure you order door handles that fit correctly. Scandinavian standard is most common in the Nordic countries, while European standard is generally used throughout the rest of Europe. There may, however, be some exceptions, so we always recommend checking which standard you need before placing your order.
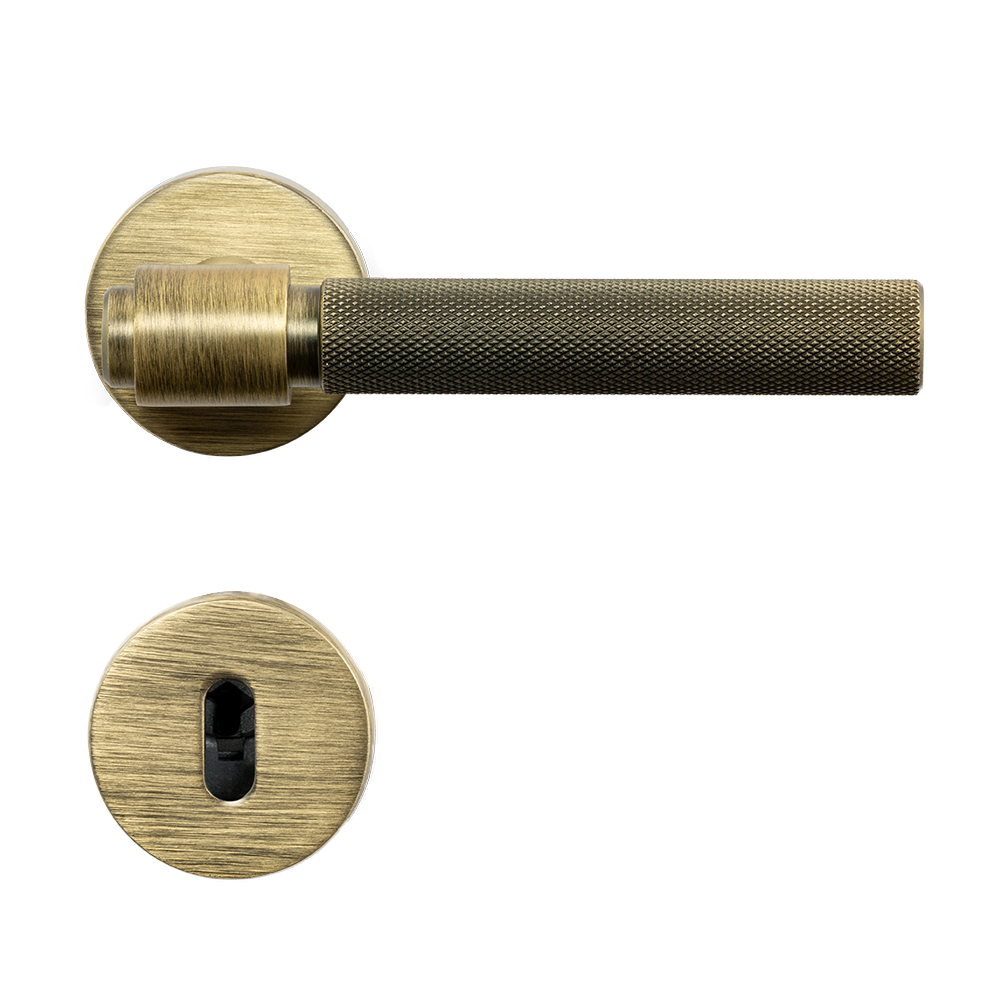
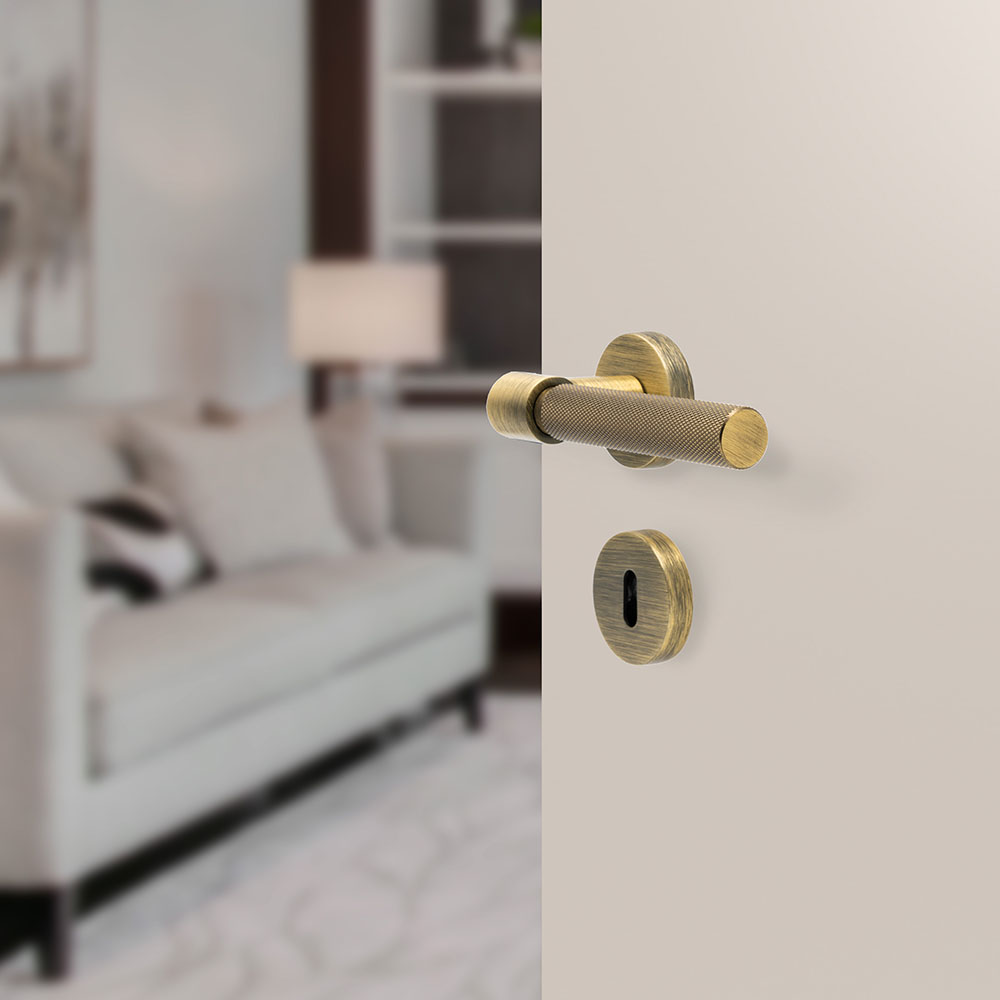
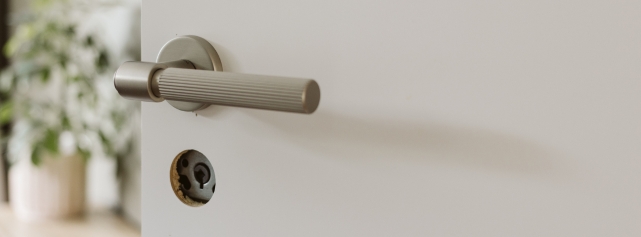
2. Find your new door handles
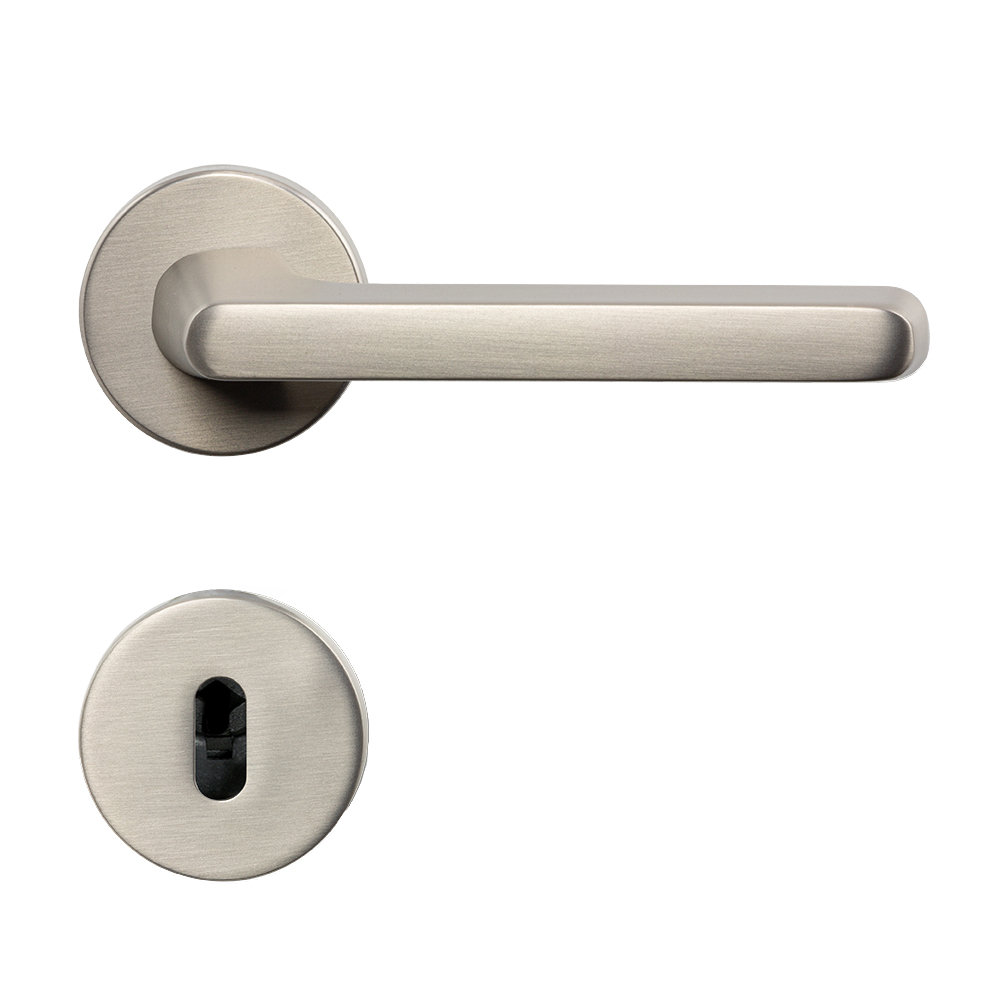
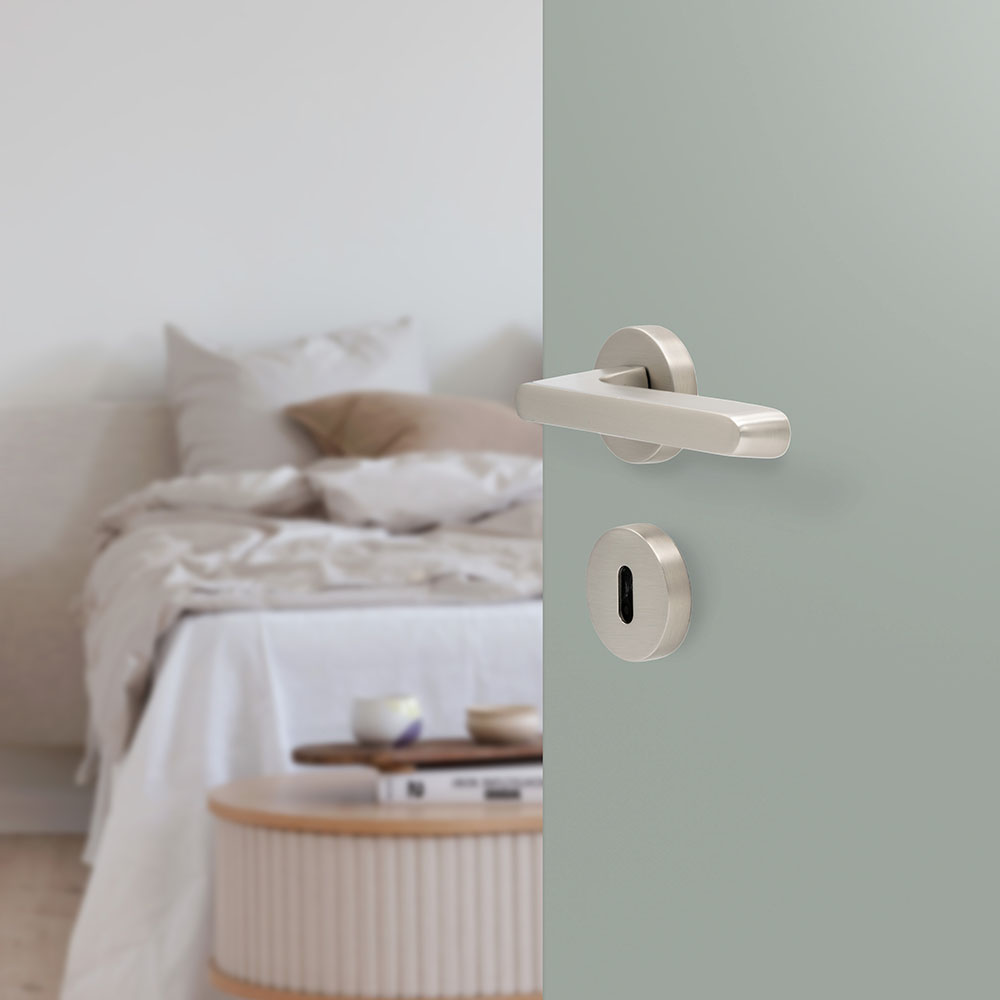
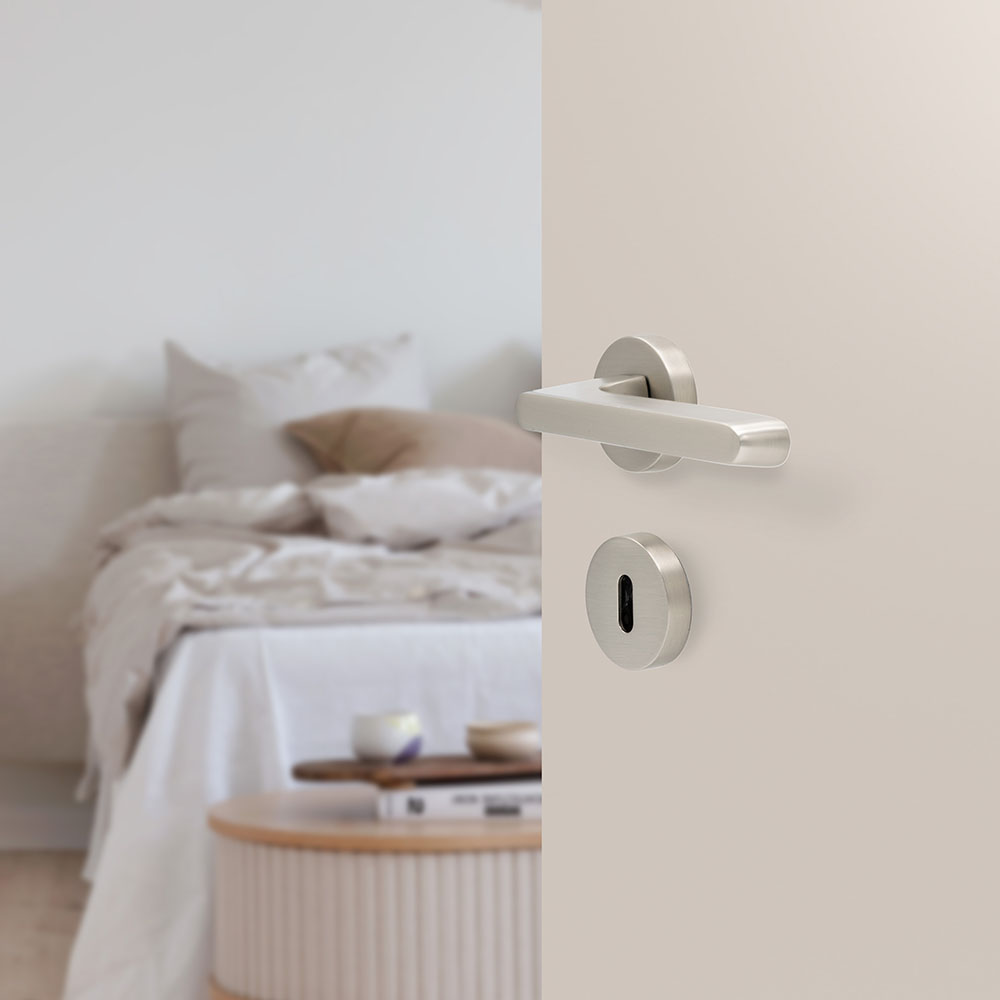
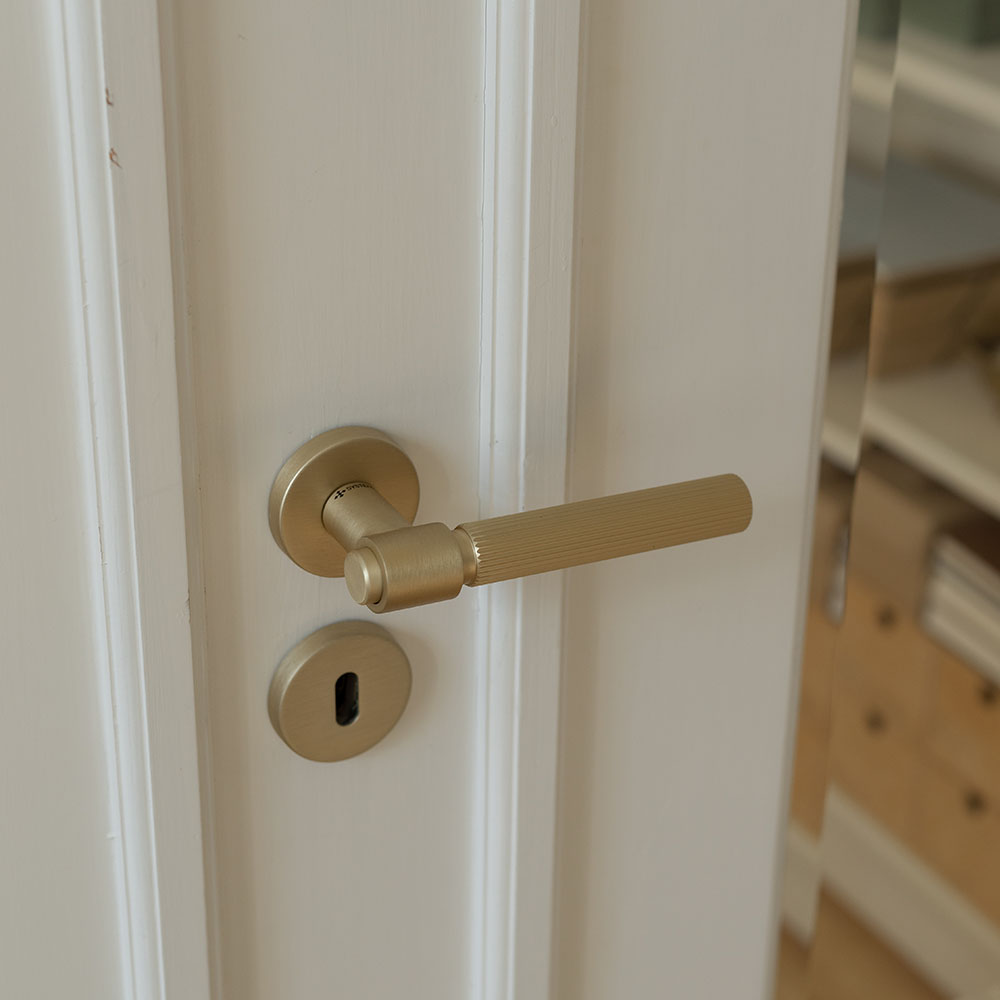
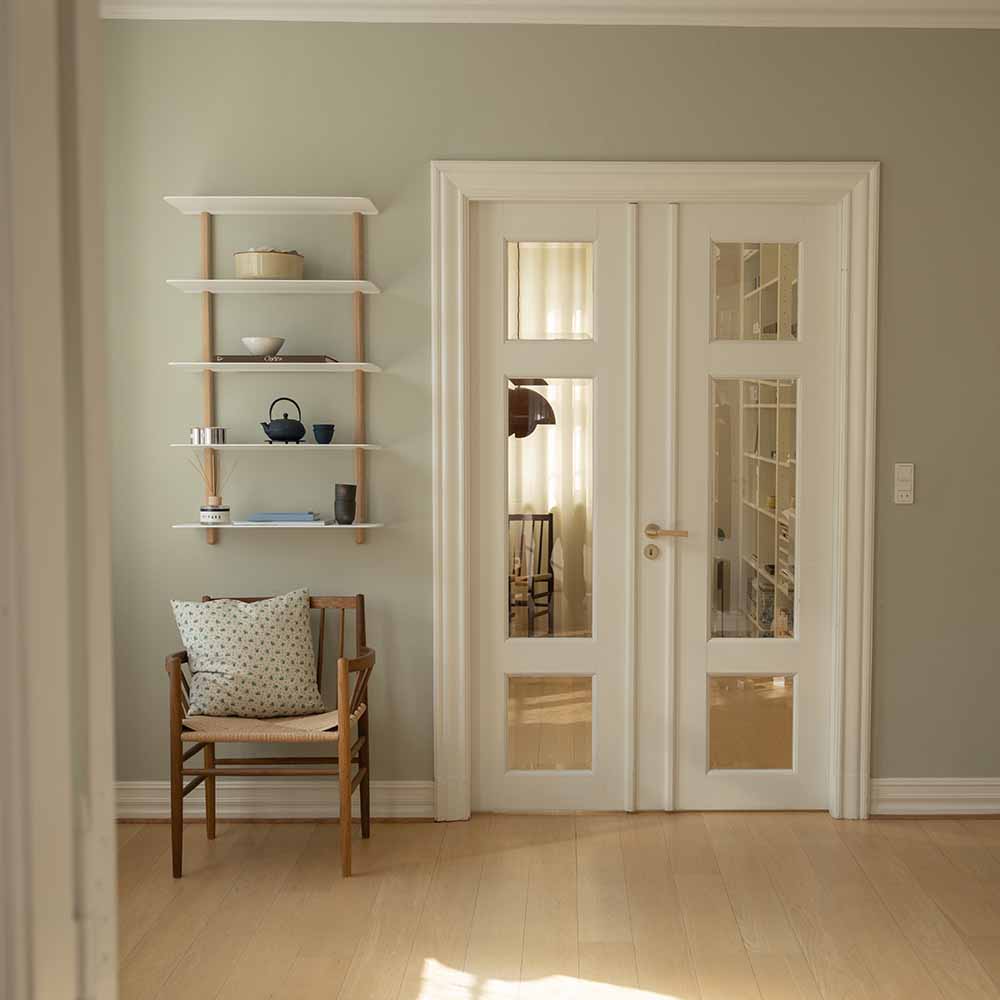
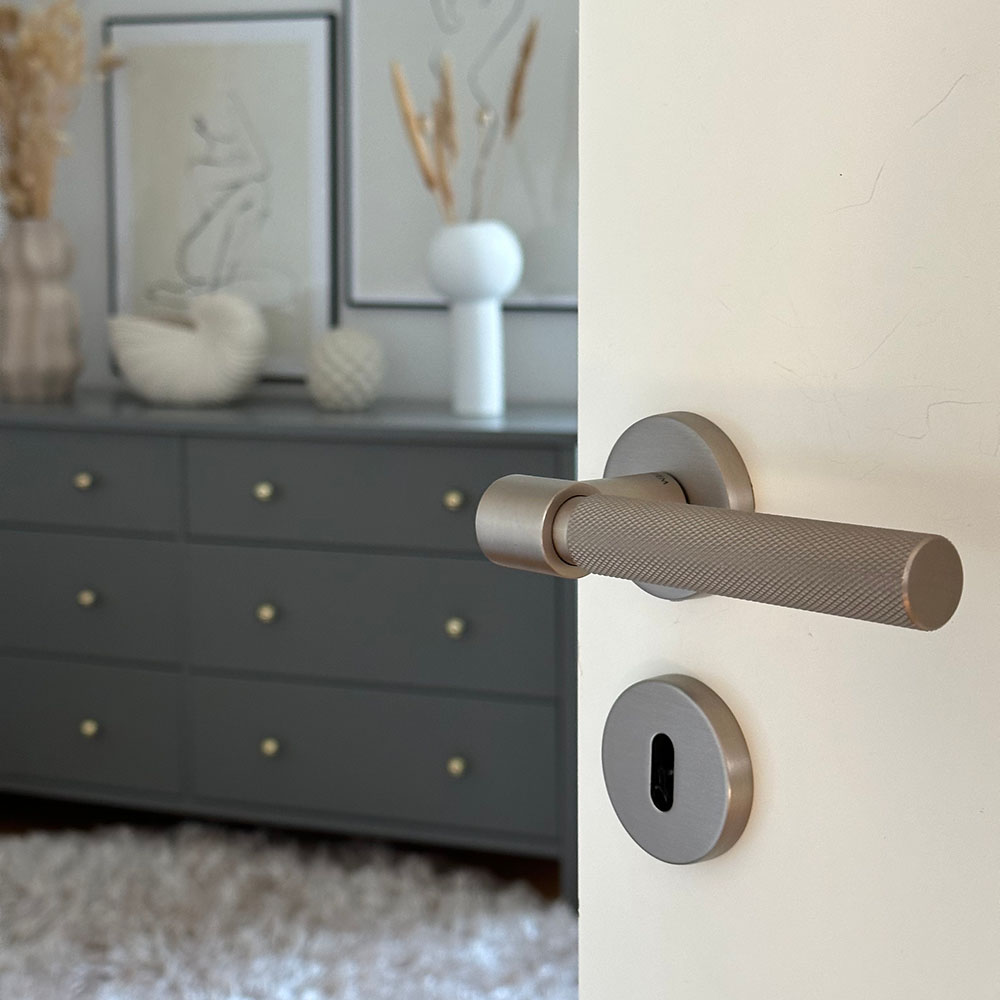
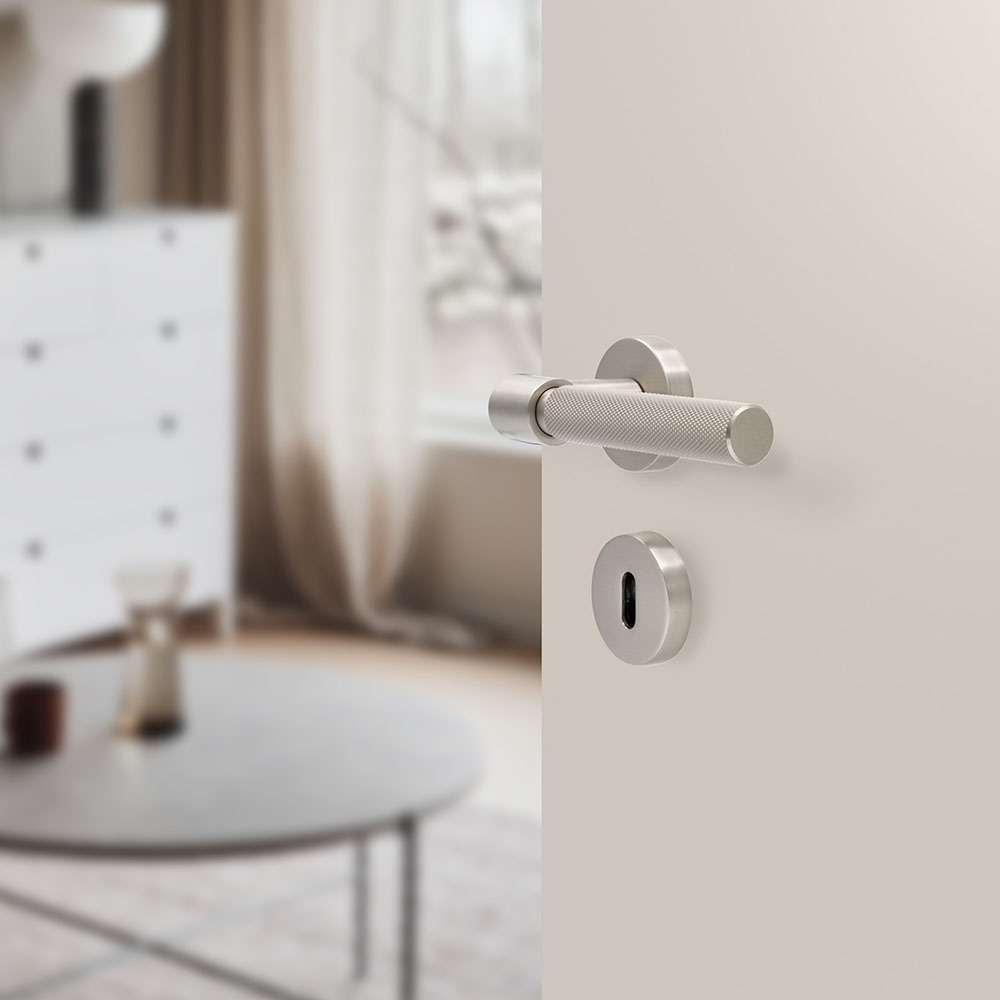
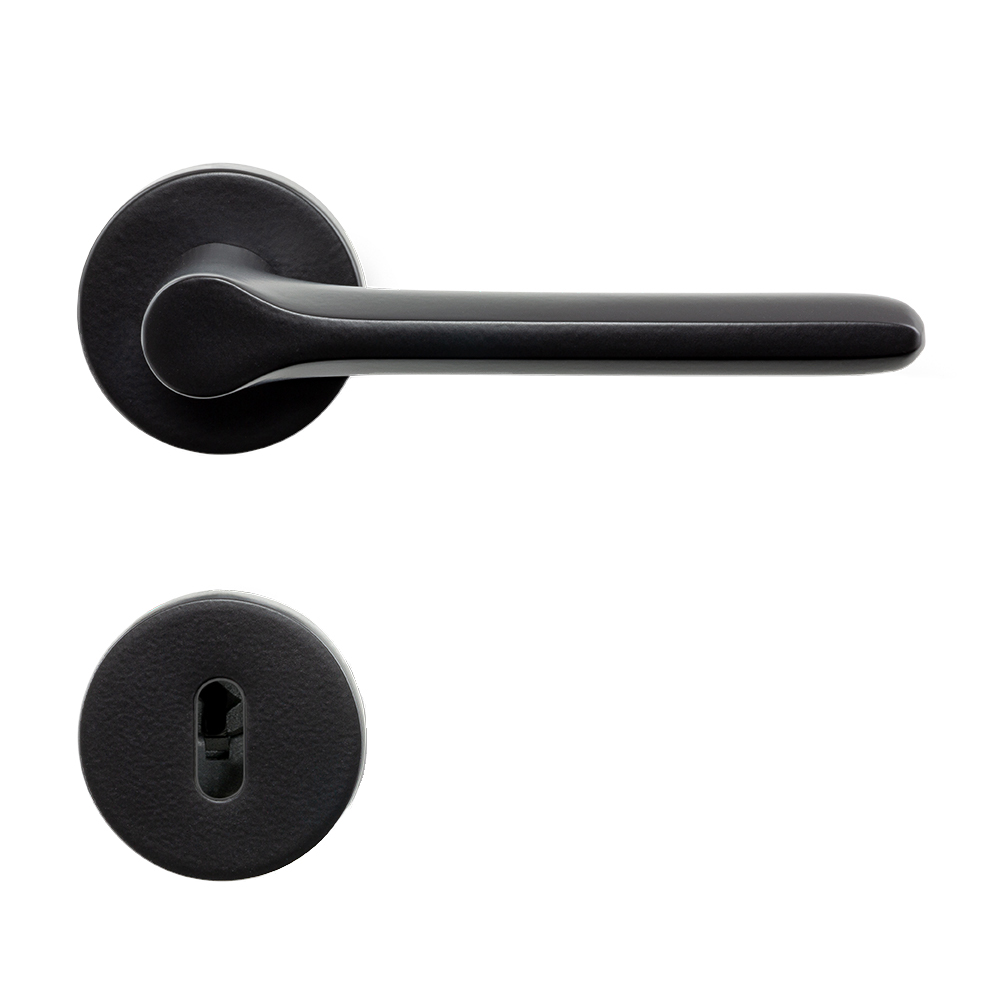
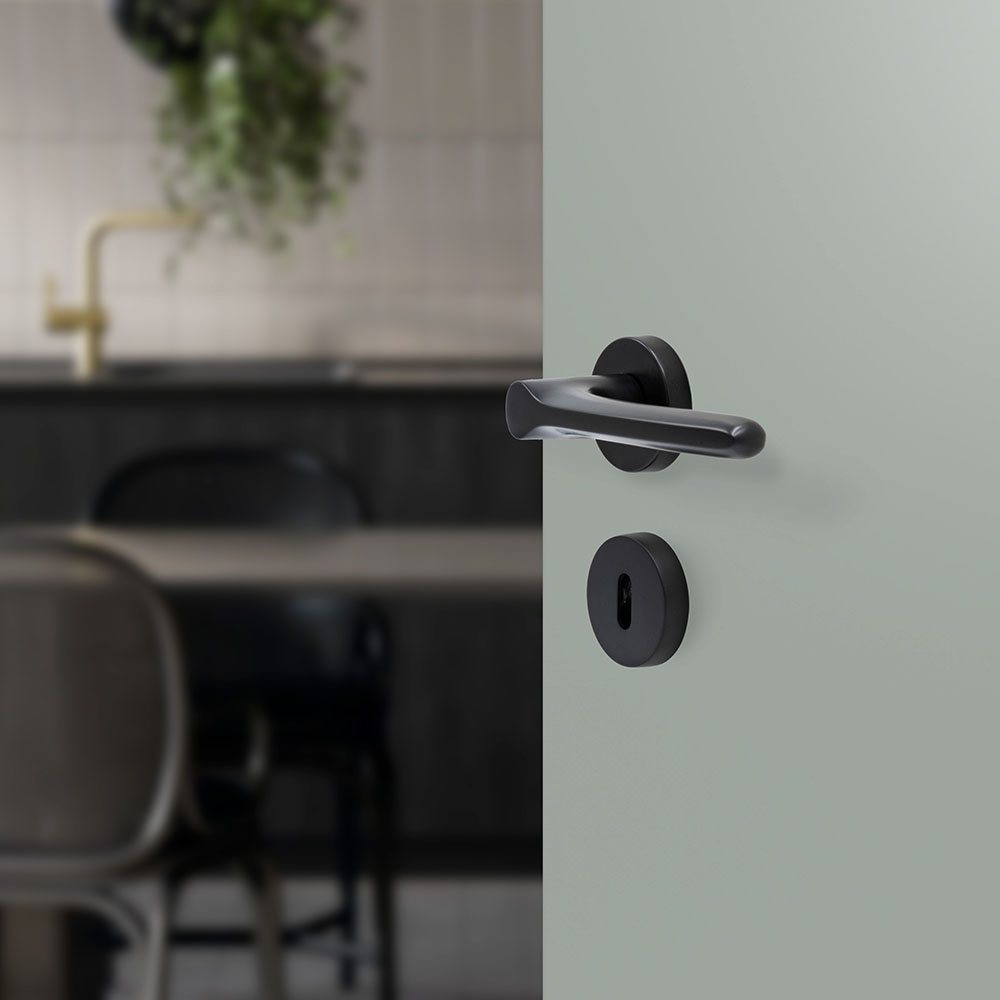
Now that you know which standard your doors have, it's time for the fun part – finding the perfect door handles for your home. Start by clicking on the menu at the top of the page and select interior door handles. Here you'll find a wide range of door handles from Beslag Design. Don't forget that you can filter by style, product type and/or colour. Not sure which combination will suit your door and your new door handles? No problem – we have lifestyle images showing different combinations. Feel free to browse our range to find the perfect match for your home and personal style. You can also find us on Instagram and Pinterest for even more inspiration.
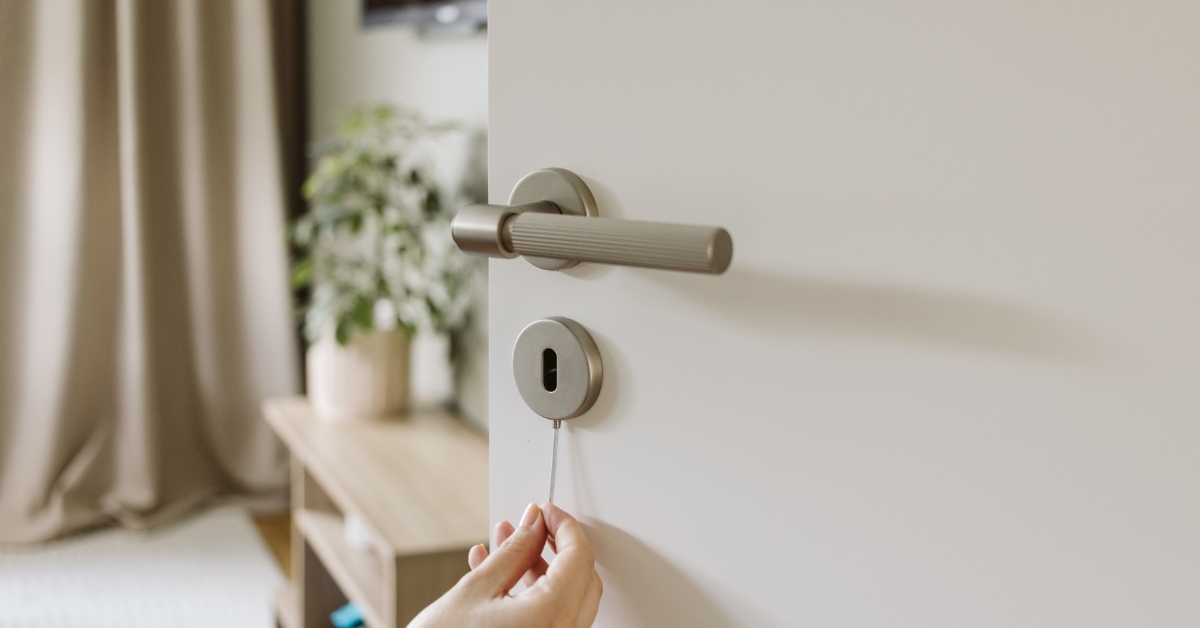
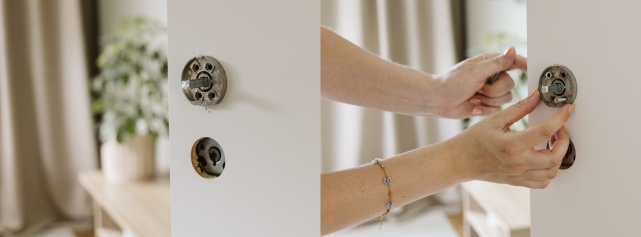
3. Remove your existing door handles
Start by removing your existing door handles. For this, you will usually need a screwdriver and an Allen key.
4. Fit your new door handle
Use a screwdriver with the correct tip when fitting the door handles. The supplied fixings include M4 screws with a combination drive head, allowing you to use either a cross-head screwdriver or a flat-head screwdriver. We recommend fitting the door handles using a screwdriver to avoid damaging the threads.
4.1 - Start by centring the supplied spindle in the mortice lock.
4.1 - Start by centring the supplied spindle in the mortice lock.

4.2 - Next, place the mounting plates onto the spindle. Make sure the flat side of each mounting plate faces down towards the floor. The mounting plates should sit flush against the door. Secure the mounting plates using the supplied M4 screws and bolt fixing sleeves. Tighten the screws gradually to avoid putting the door handle under tension. If you fully tighten one screw before tightening the other, the door handle may bind.
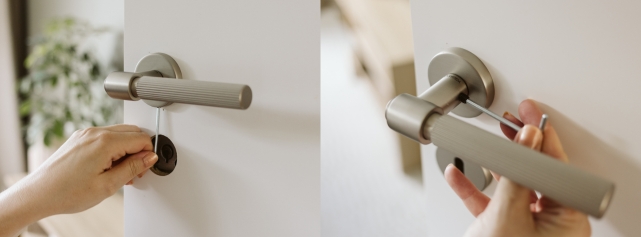
4.3 - Once the mounting plates have been securely fastened, remove the spindle and use it as a tool to lever out the guide washers located in the centre of the mounting plates. Dispose of these with your metal recycling. The guide washers are intended to assist with fitting the mounting plates, but they must be removed before the door handles are put into use.

4.4 - Position the spindle so that the machined groove faces away from the nearest edge of the door leaf. This allows the grub screw in the door handle to be securely fixed to the spindle. Centre the spindle so that it protrudes equally on both sides of the door. If necessary, use a flat-head screwdriver to adjust the position of the spindle.
4.5 - Push the door handles into place until they click onto the lug on the top of the mounting plates. The door handle rose should sit flush against the door leaf.
4.5 - Push the door handles into place until they click onto the lug on the top of the mounting plates. The door handle rose should sit flush against the door leaf.
4.6 - It is now time to secure the door handles. Tighten the grub screws using an Allen key, then fully tighten them. The image below shows the grub screw securing the door handle to the spindle. – Don't forget the screw on the underside of the door handle. This grub screw secures the door handle to the mounting plate.